
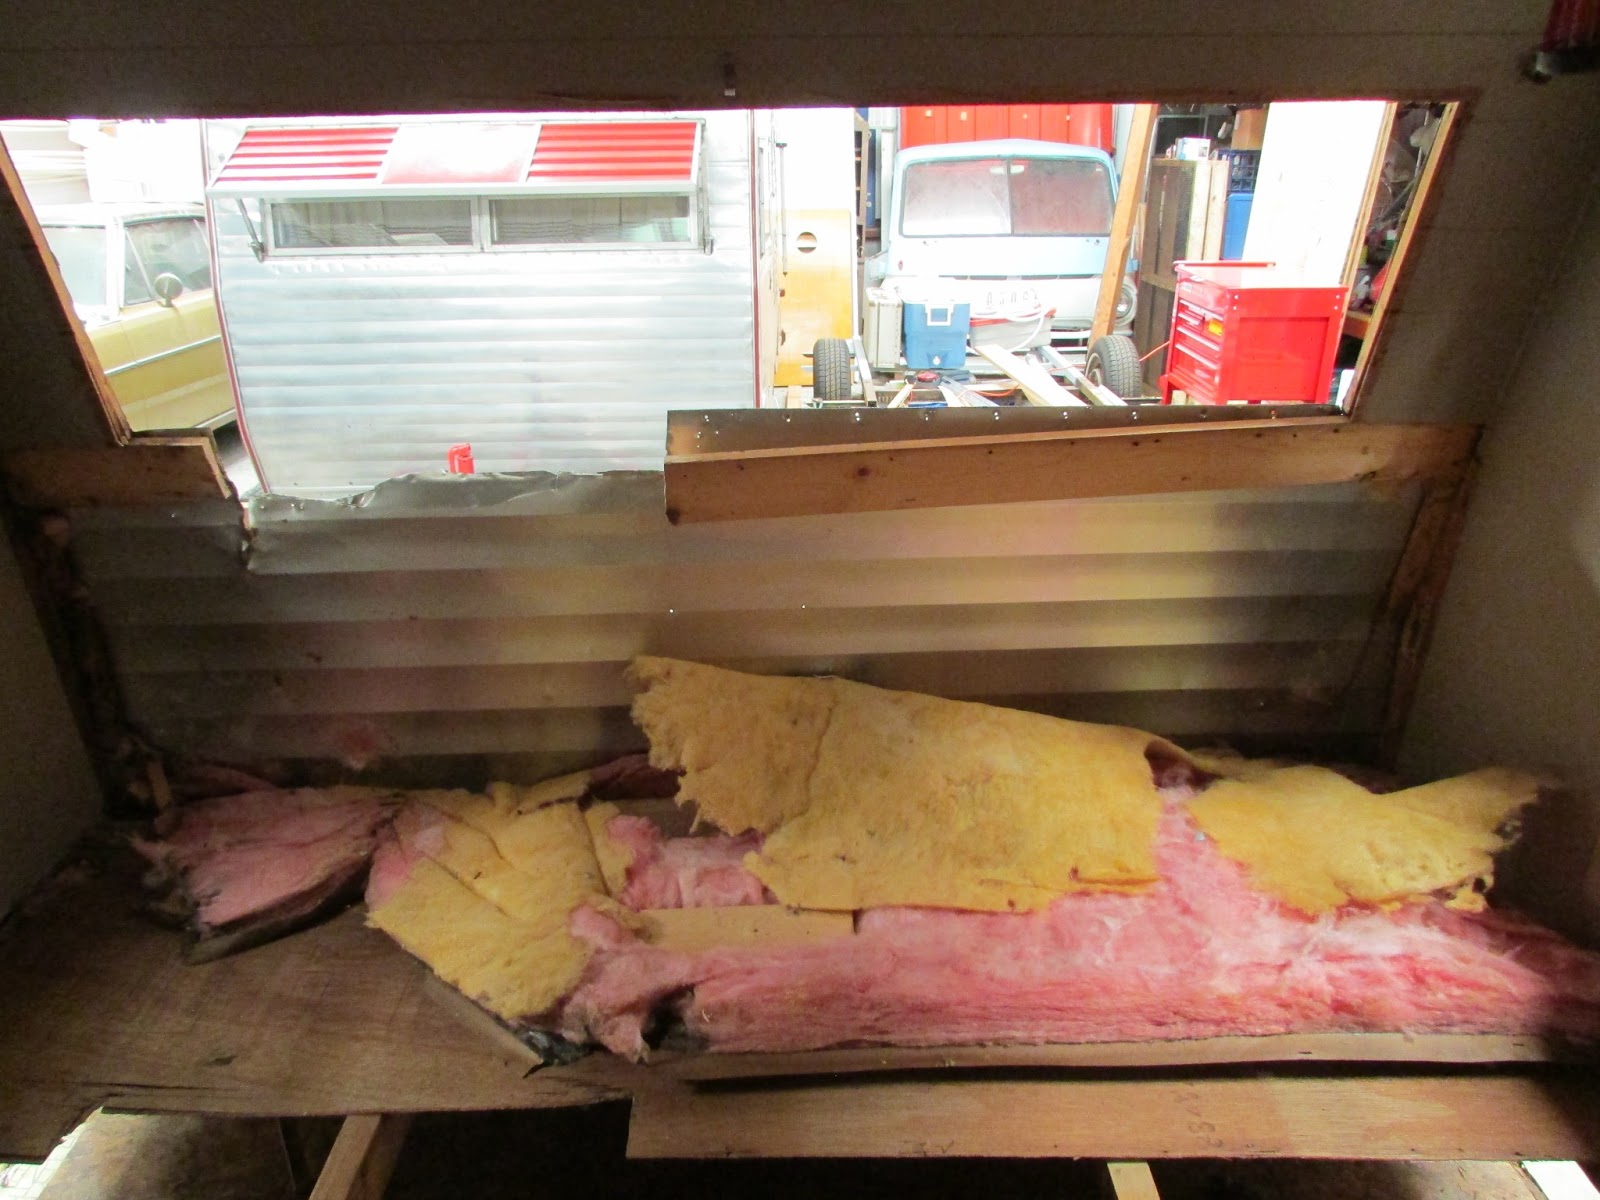


 No work has been done on me lately, but the wood saws and metal shears have been hard at work on our guest, Joni. I promised I would post update pictures when things progressed, so here's a few of her latest improvements. I forgot to post a picture of the rather ugly A/C mounting when I did my "Meet Joni" post. So the first pic shows what that looked like, and you can probably tell why there was water leaking in. A view of Joni's back wall from inside her, shows her hacked up paneling and insulation removed. Some of the insulation was wet and had black mold on it. Not pretty. You can also see me through her window, watching over the project and waiting somewhat impatiently for Gary to work on me. But that's another story. Back to Joni. The next pic shows where Gary cut out the jagged and epoxy filled sheet metal, to make a flat foundation to attach the repair panel to. You can also see how he repaired the 1x4 window frame with mending plates to give the replacement window frame something to be screwed into. With that done, Gary spent some time "beefing up" Joni's rear wall. There was no structural support of any kind between the window frame and the bed, but there is now. Two more 1x4 studs were added. These not only give the wall support, but also provide a solid backing to screw the repair plate, Serro Scotty emblem, and tag bracket into through Joni's skin. She's good and strong now. The final pic shows the repair plate attached, and the window being test fitted. The work continues, and I will try to keep Gary focused on the job at hand. When Joni gets done, then I will be getting all the attention, and you KNOW how much I'm going to enjoy that! More updates soon. Have a GREAT day!
No comments:
Post a Comment